repair of mighty mouse
This is a photo story of the surgery for repairing
the Scroll Ball of Mighty Mouse. ( When thumbnail is
clicked, a big image will be displayed )
!! WARNING
!!
- You may refer if you are interested in it. However, Please remember that do it at your own risk.
- I cannot support all of this.
- You cannot get repair service from Apple computer after you repair it yourself.
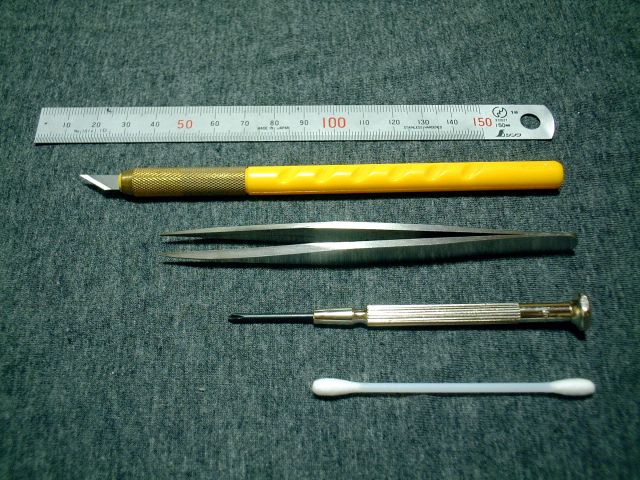 |
I used tools as shown in follows.
|
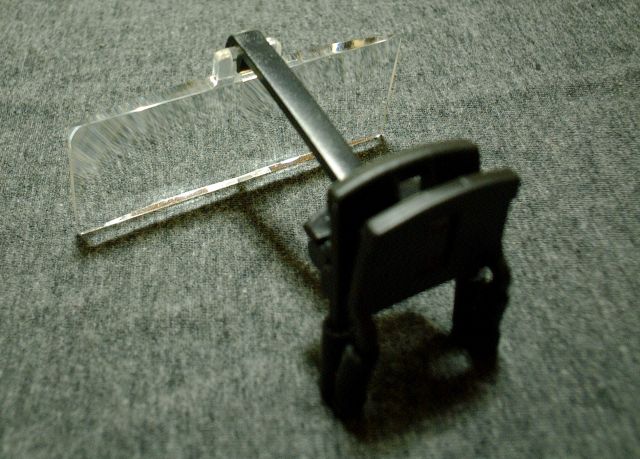 |
The Scroll Ball is assembled
from very small parts. It might be good to use a
magnifying glass if necessary.
( My eyes are not very good so I used the magnifying glass as shown left photograph ) |
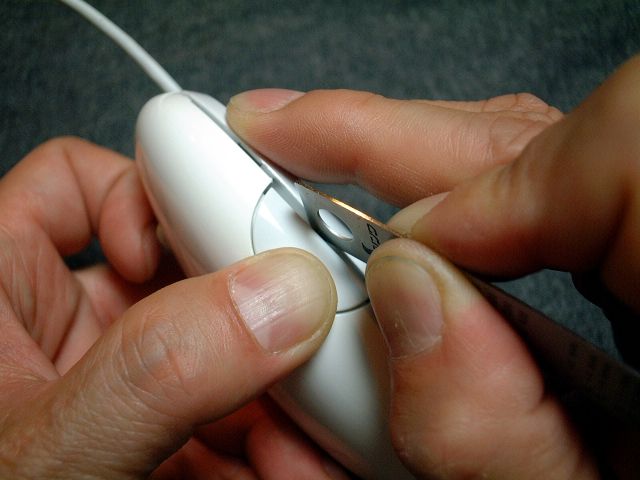 |
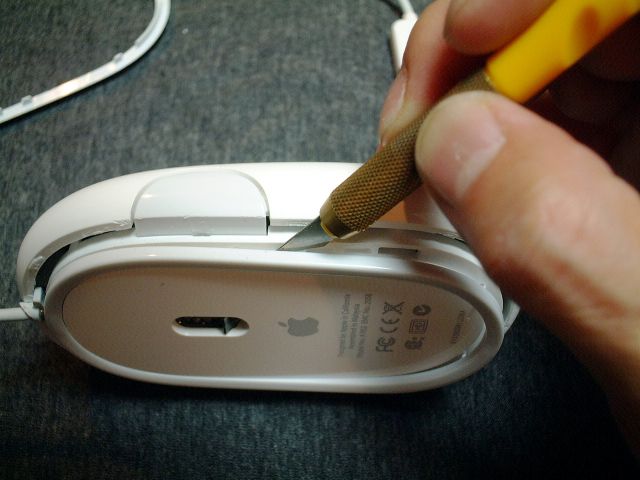
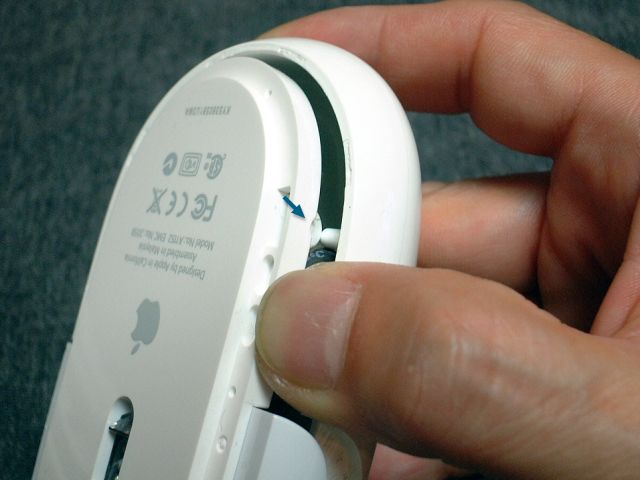
Press a side button to make a
enough space to insert the thin plate.
Insert the thin plate between the "outside shell" and the "outside gray ring". |
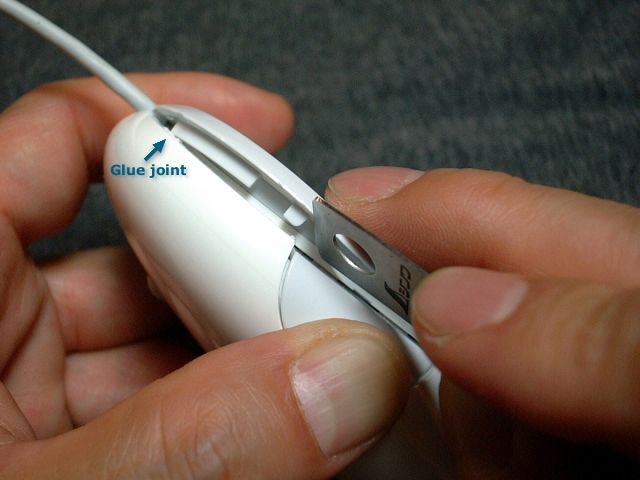 |
The "outside gray ring" and the "outside shell" are joined with glue at some small spots. Turn or push the thin plate carefully to remove the "outside gray ring" from the "outside shell". |
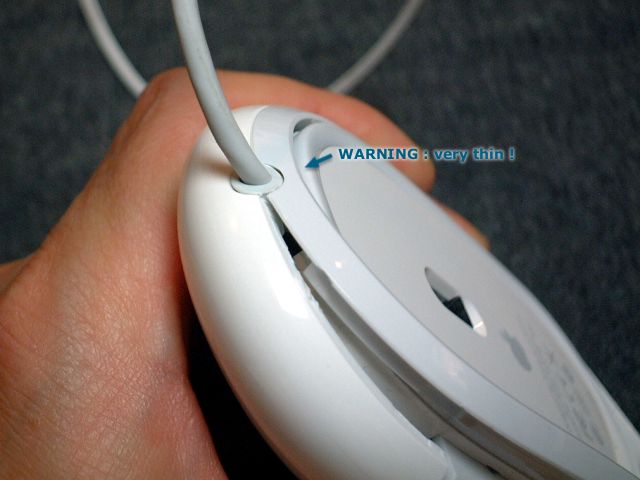 |
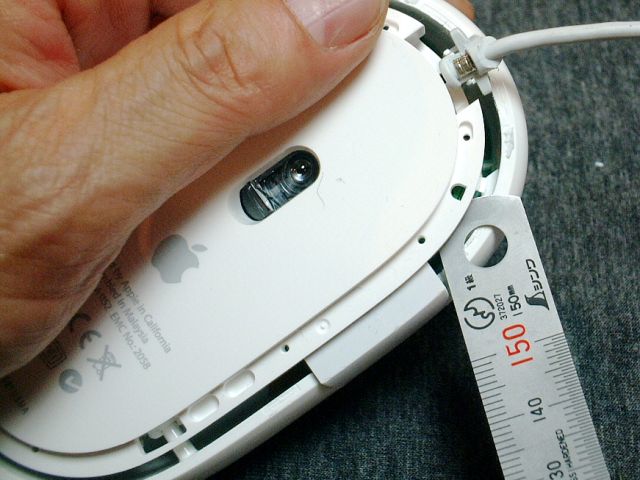
Be careful ! The outlet of mouse cable is very thin ! Don't use big force. slowly and gently ... |
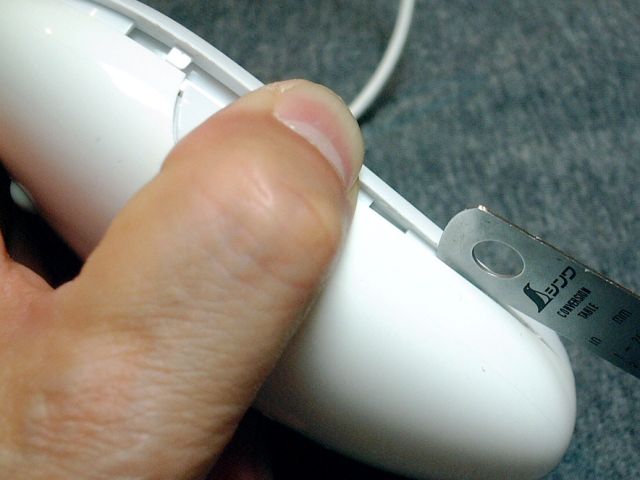 |
Turn or push the thin plate carefully to remove the "outside gray ring" from "outside shell" slowly and gently .... |
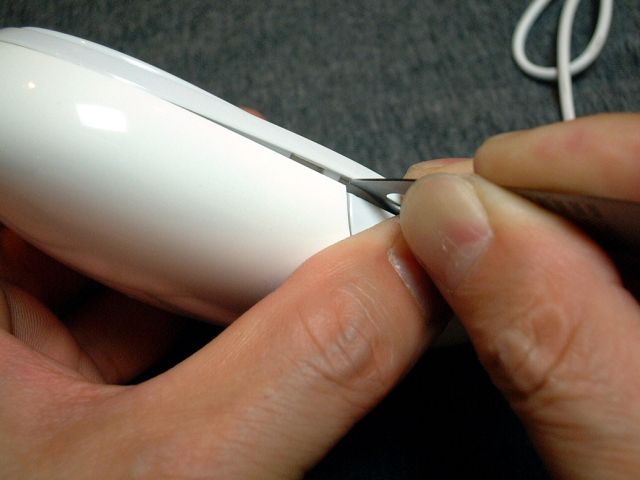 |
Also remove the "outside gray ring" from the "outside shell" on another side. |
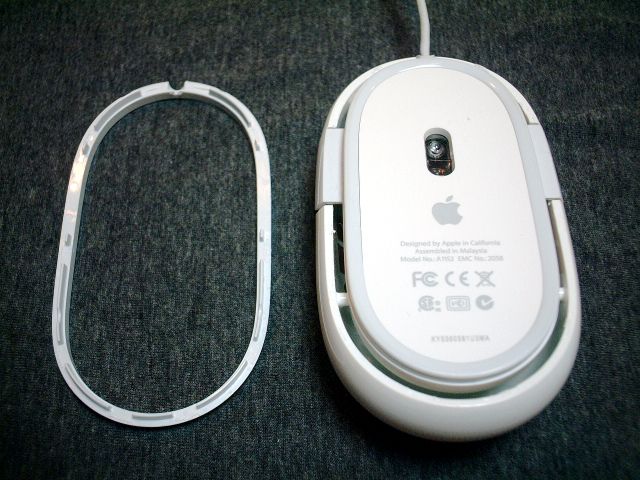 |
The left photograph shows the
"outside gray ring" was removed from the "outside
shell" completely.
Here after, it's not so difficult. whoof ... |
 |
The left photograph shows
operation that is removing the "inside gray ring" from
the "inside shell". However, I didn't have to remove
the "inside gray ring" as results.
I think that you don't have to remove the "inside gray ring" because you can confirm structure by these photographs if you try this. |
 |
The "inside gray ring" is fixed
to the "inside shell" by pins and holes so there is no
glue.
Don't break the pins of the "inside gray ring" if you remove this. ( But you don't have to remove the "inside gray ring" ) |
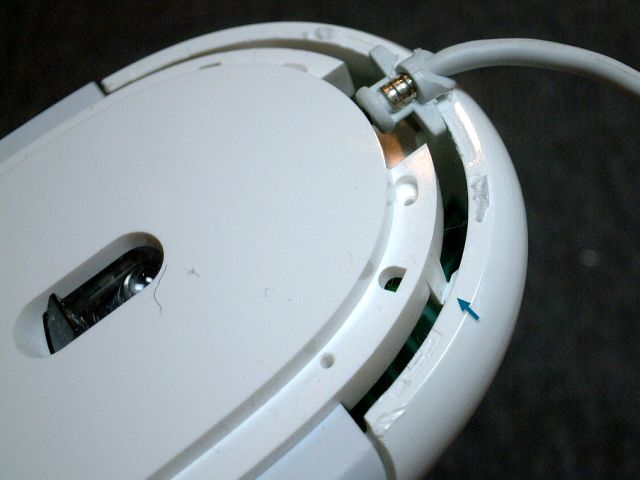 |
The "inside shell" is jointed
to the "outside shell" at four places.
The arrow of the left photograph indicates front jointing part. |
 |
Open the "outside shell" little bit to remove the "inside shell". I used thin plate but it might not be necessary. ( It's not good idea ) |
 |
The arrow of the left photograph shows rear jointing part. Also open the "outside shell" little bit to remove the "inside shell". |
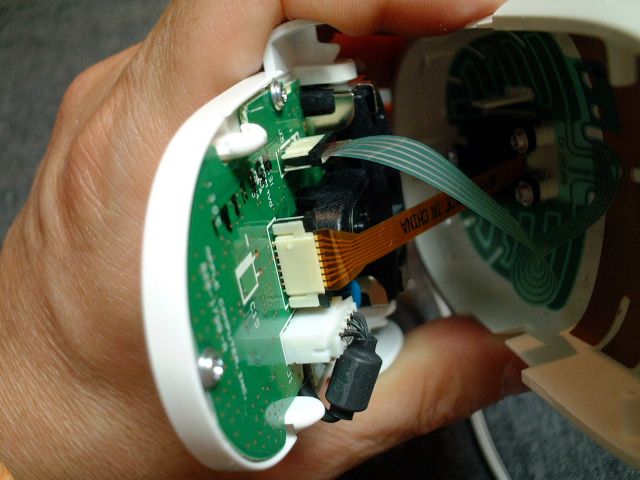 |
Don't detach the "inside shell" from the "outside shell" completely, because they are still connected with two flat film cables. |
 |
One of flat film cables (green) is for connecting the Touch-sensitive signal, and other one (orange) is for connecting the Scroll Ball signal. Disconnect each flat cable connectors carefully. Also don't touch the contact by fingers. |
 |
From the left hand...
|
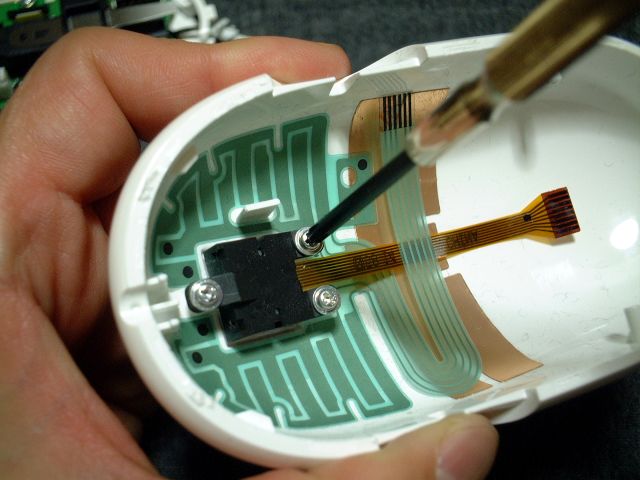 |
Take out three screws of the
Scroll Ball part.
In my case, these screws were fastened very tightly. Don't break the groove of screw. |
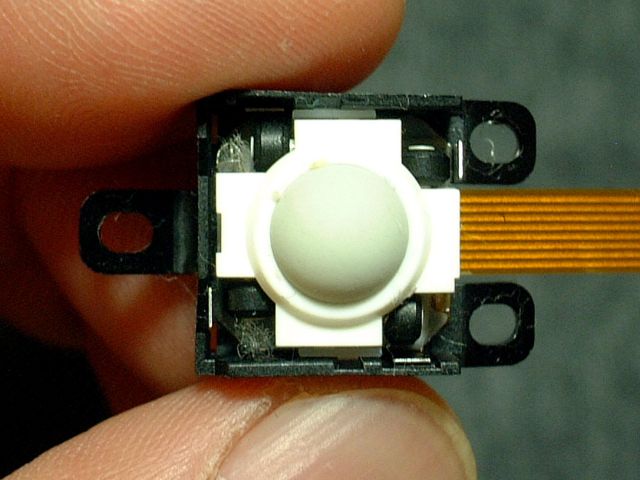 |
The left photograph shows the
Scroll Ball part.
There is lots of dust inside the Scroll Ball. |
 |
Disassemble the Scroll Ball
parts by using tweezers. Also don't lose small parts.
Clean up the parts. I used a cotton swab. However, use the material that does not make fiber dust. |
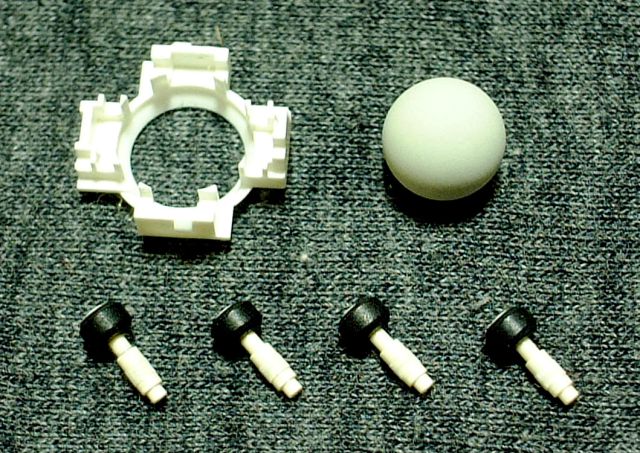 |
All parts are very clean.
Let's reassemble the Might Mouse ! How to reassemble it ? It's just a reverse order of this. ;-) |
NOTE
As you know, the "outside gray ring" and the
"outside shell" were joined with glue.
I used small Scotch tape to join each other for the cleaning in the future. Also you should cut the Scotch tape small for good looking.
It's not so big problem, because the "outside gray ring" does not touch the mouse pad. But, the "outside gray ring" is clapped out little. :-)